
Goodbye Squarespace. Hello Eleventy, Tailwind CSS and Netlify!
05 Jul 2020
Early last month, I came across Eleventy, a simple static site generator, and this got me curious. Together with Tailwind CSS (a utility first CSS framework), I thought of transitioning my blog from Squarespace to Eleventy, host it on Netlify and take control of my content. I disliked the experience of creating and publishing on Squarespace (way too clunky!).
So, the journey began to set up Eleventy with Tailwind CSS and to eventually move everything from Squarespace here. Bryce's post Going solo with Eleventy was my starting point. I cloned his public repo eleventy_solo and started digging around on localhost. Make sure you study package.json, postcss.config.js, tailwind.config.js and eleventy.js files.
In this post, I will highlight the issues I faced while getting Tailwind CSS to work with Eleventy. I would highly recommend you also go through Eleventy's Documentation to understand how it works.
All the code for this setup is on my Github.
Making it work on localhost #
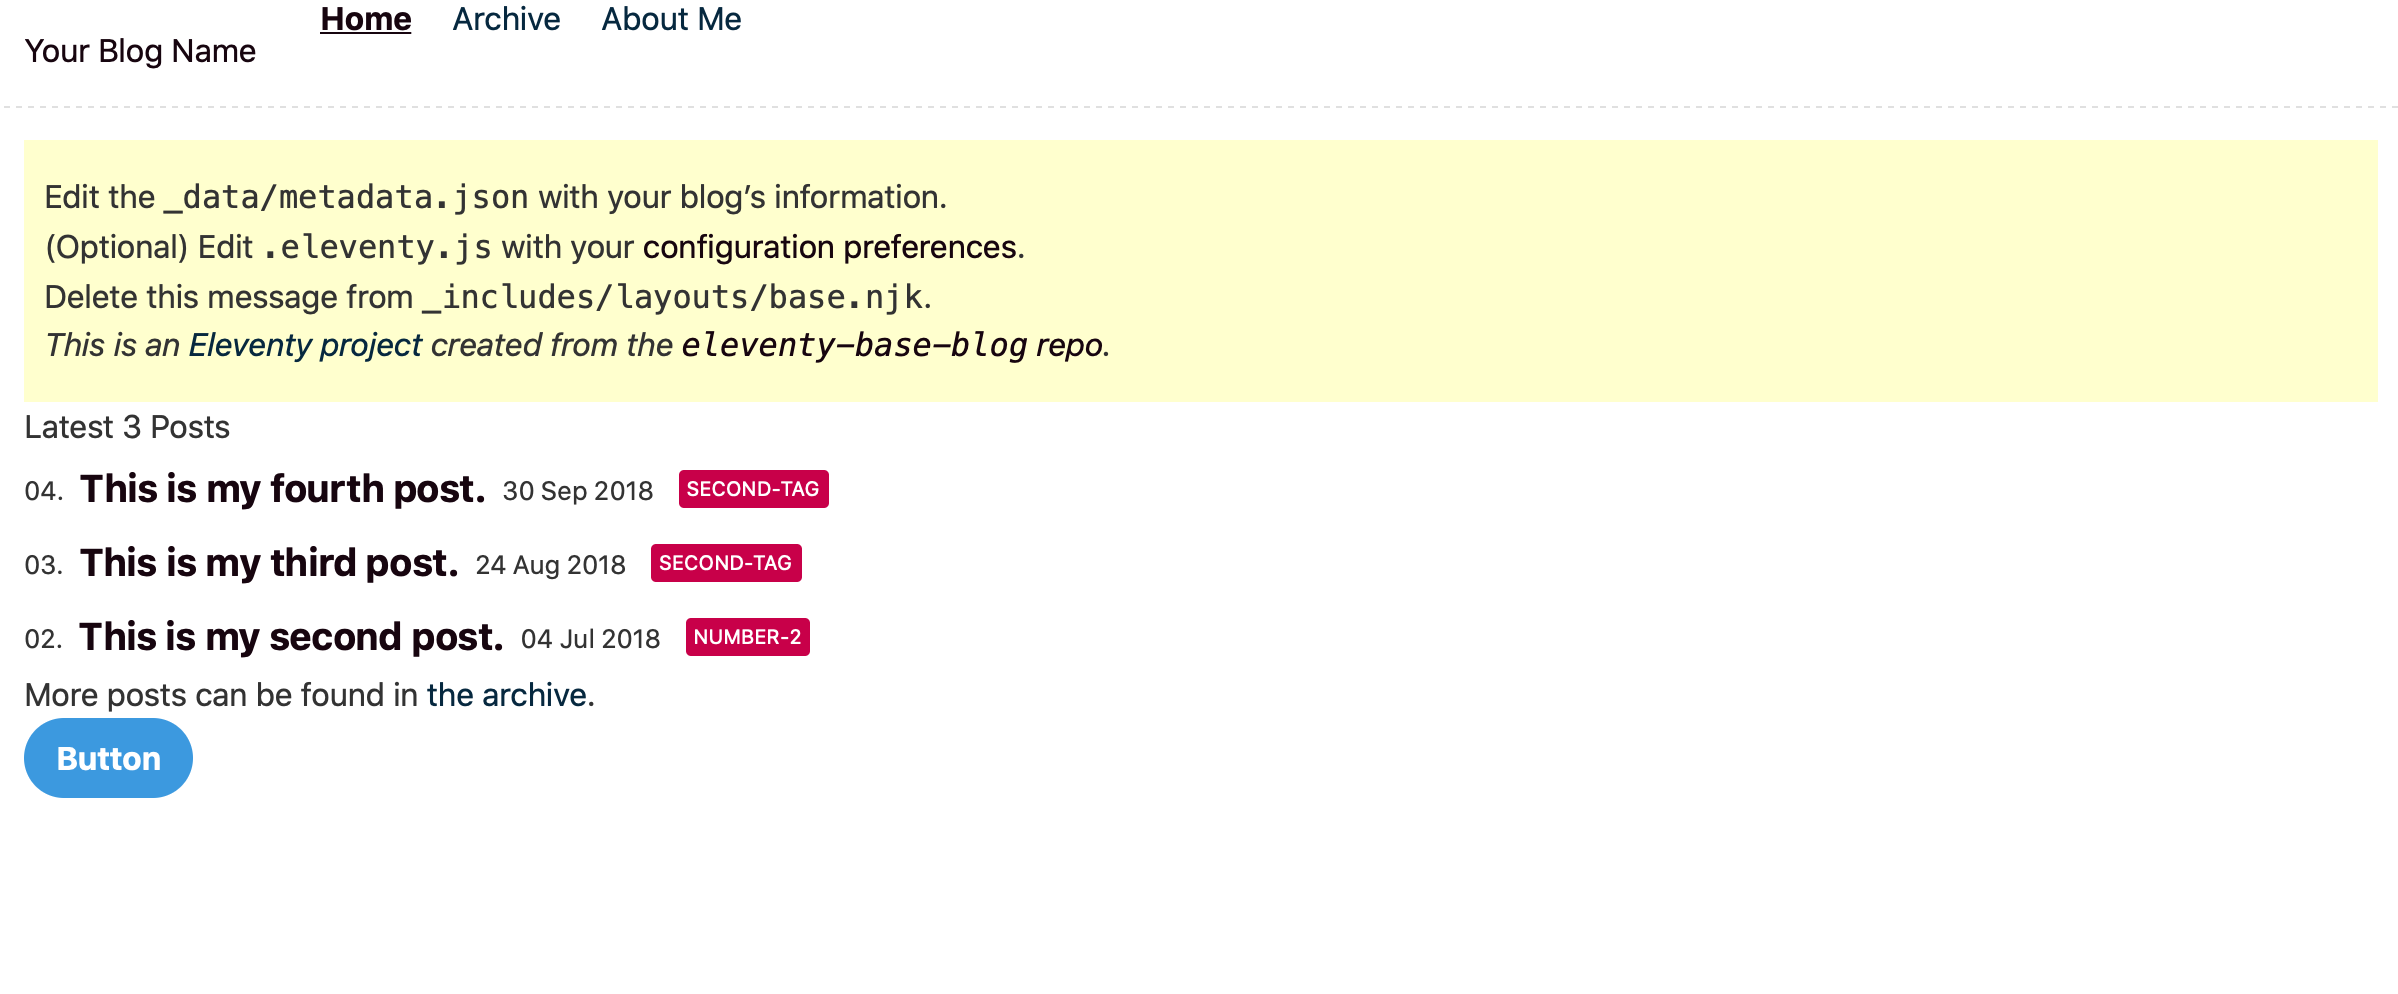
Clone and set up the official eleventy-base-blog starter project. I also grabbed the button code from Tailwind's site and pasted it at the bottom of index.njk (see it in the screenshot below). Since we don't have Tailwind CSS installed, it won't work yet!

Let's push this code to Github now. I created a new repo on Github called 'eleventy-sample-blog-twcss'.
git status
git add .
git init
git commit -m "first commit"
git remote set-url origin https://github.com/logicman/eleventy-sample-blog-twcss.git
git push
Next, set up a free account on Netlify and follow the steps to deploy my site when you git push to Github (by default auto-deploy is enabled on your new Netlify account). Just to make sure everything works - I made changes to the index.njk file again and pushed the code. I wanted to see if Netlify would pick it up and auto-deploy. It worked. So, at this stage, we have our base blog working on Eleventy, and we can make changes and publish our site!
PostCSS #
Since Tailwind is written in PostCSS, we'll need PostCSS to generate the final CSS file. This is a helpful article to understand PostCSS.
PostCSS is rather a CSS parser, framework or API that allows us to use plugins which can do various tasks. By itself, without any plugins, it actually does nothing, it doesn’t transform CSS in any way. We can install it parse a CSS through it and the result will be the same as the raw CSS we used. Sure, we can say this about preprocessors as well. We can take raw CSS, use Sass or LESS, and the result will be again the same.
We'll need to install a bunch of PostCSS plugins.
npm install postcss autoprefixer --save-dev
npm install postcss-import --save
npm install postcss-partial-import postcss-preset-env postcss-css-variables postcss-nesting --save-dev
npm install postcss-clean --save
touch postcss.config.jsAdd these to your postcss.config.js:
module.exports = {
 plugins: [
 require('postcss-import'),
 require('tailwindcss'),
 require('autoprefixer'),
 require('postcss-preset-env')({ stage: 1 }),
 require('postcss-clean'),
 ],
};
Now, add postcss-cli, so that we can use PostCSS in our testbuild process.
npm install -D postcss-cli npm install npm-run-all --save-devOpen the package.json file and update your scripts to match this.
"scripts": {
 "build": "eleventy",
 "watch": "eleventy --watch",
 "serve": "eleventy --serve",
 "debug": "DEBUG=* eleventy",
 "clean": "rm -rf _site",
 "start": "npm-run-all clean --parallel dev:*",
 "dev:postcss": "postcss assets/index.css -d _site/css/ --config ./postcss.config.js -w",
 "dev:eleventy": "ELEVENTY_ENV=development npx @11ty/eleventy --watch --quiet",
 "dev:bsync": "browser-sync start --server ./_site -w --no-open --no-notify --no-ghost-mode"
 },
Tailwind CSS #
Next, install Tailwind CSS.
npm install tailwindcss⚠️ Important: Rename the current index.css file to 11ty.css. Create a new file called index.css and add the Tailwind CSS (see below) and import the 11ty.css at the very top. I don't know why, but I had to rename the css folder to assets (or anything else you want) to get this working (Github Issue).
/* add to newly created index.css */
@import '11ty.css';

@tailwind base;

@tailwind components;

@tailwind utilities;
Create the Tailwind config file (you'll need it later).
npx tailwindcss initThe tailwind.config.js file is at the root of your project.
npm run startVoila! The site loads with the button styles in Tailwind CSS 🏆.
Define Base Styles #
If you have lost your base styles, I recommend you look at Tailwind’s post on Pre-flight. You will have to define your base styles again (see the Extending Pre-flight section).
@import '11ty.css';

/* purgecss start ignore */

@tailwind base;

h1 {
 @apply text-3xl;
}
h2 {
 @apply text-2xl;
}
h3 {
 @apply text-lg;
}
a {
 @apply text-blue-600 underline;
}

/* purgecss end ignore */

@tailwind components;

@tailwind utilities;
TestBuild Process & PurgeCSS #
Open up tailwind.config.js and add these to the purge settings:
module.exports = {
 purge: {
 content: [
 './**/*.js',
 './**/*.11ty.js',
 './**/*.html',
 './**/*.njk',
 ],
 },
...
We'll need to check whether PurgeCSS is set to ignore the CSS and the base Tailwind CSS as described in the latest Tailwind CSS docs - Tailwind will automatically purge unused styles from your CSS during the build process.
Note: PurgeCSS typically runs only in production, so you won’t see the change until you do either npm run testbuild.
Update your scripts in package.json to have testbuild so we can test out if PurgeCSS is working.
 "scripts": {
 "clean": "rm -rf _site",
 "start": "npm-run-all clean --parallel dev:*",
 "dev:postcss": "postcss assets/index.css -d _site/css/ --config ./postcss.config.js -w",
 "dev:eleventy": "ELEVENTY_ENV=development npx @11ty/eleventy --watch --quiet",
 "dev:bsync": "browser-sync start --server ./_site -w --no-open --no-notify --no-ghost-mode",
 "testProd:postcss": "postcss assets/index.css -d _site/css/ --config ./postcss.config.js -w",
 "testProd:bsync": "browser-sync start --server ./_site -w --no-open --no-notify --no-ghost-mode",
 "testProd:eleventy": "ELEVENTY_ENV=production npx @11ty/eleventy --output=./_site --watch",
 "testbuild": "NODE_ENV=production npm-run-all clean --parallel testProd:*",
 "watch": "eleventy --watch",
 "serve": "eleventy --serve",
 "debug": "DEBUG=* eleventy",
 "build": "eleventy"
 },
The CSS file in _site/css/index.css is ~ 2 MB in size.
Run npm run testbuild and see if PurgeCSS works. The size is now 14K (minified)!
Set up your build process by adding these to the scripts section:
"build": "NODE_ENV=production npm-run-all clean --parallel prod:*",
"prod:postcss": "postcss assets/index.css -d _site/css/ --config ./postcss.config.js",
"prod:eleventy": "ELEVENTY_ENV=production npx @11ty/eleventy --output=./_site",
You should be able to now run npm run build also. This is what Netlify will use to build your site. Try it out.
Moving Content from Squarespace #
Next up was to move my content from Squarespace to Eleventy.
-
Exported my content in XML.
-
Found a XML to markdown converter 🙏. One change I made was to update the
index.jsfile (see the 'Frontmater we expect in our static site setup') in this repo to match what Frontmatter I wanted to include in all my posts. -
Once the posts were done, I copied them year-wise to my repo under
/posts/. E.g./posts/2020,/posts/2019etc. The .md filenames started with a date which I wanted to remove (see image below). -
Going into each year's sub-folder under
/postsI ran this command to strip off the date from the filenames:
for f in *; do mv "$f" "${f:16}"; done-
I still had to go through each post, download the image from Squarespace, copy it to the respective year folder (e.g.
/img/2020/) folder and then set the path correctly in the *.md files. -
Double-check the front-matter, add tags, update the date if needed and I was good to go...

That's it. I refreshed my blog, and Tailwind CSS worked with my content and here is this site! 😎
Good luck with your move and ping me if you need help with anything. This post could not have been possible without Bryce Wray - thank you so much for all the help!